How to Detect and Reduce Resource Overuse in cPanel Accounts
This guide will assist you in identifying and reducing resource overuse to ensure your website maintains optimal performance.
Resource overuse in cPanel accounts can cause performance problems and service interruptions.
Identifying Resource Overuse:
- Check Resource Usage Reports:
- Log in to your cPanel account.
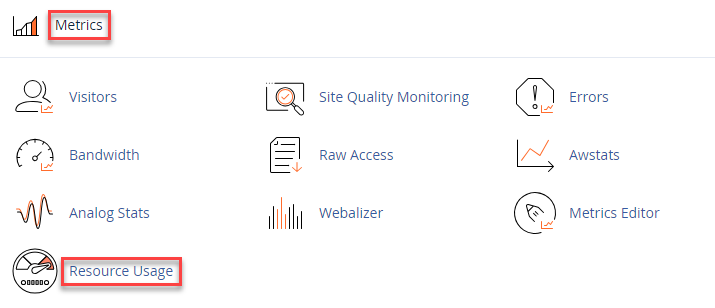
- Go to Metrics and select Resource Usage or Resource Usage Statistics.

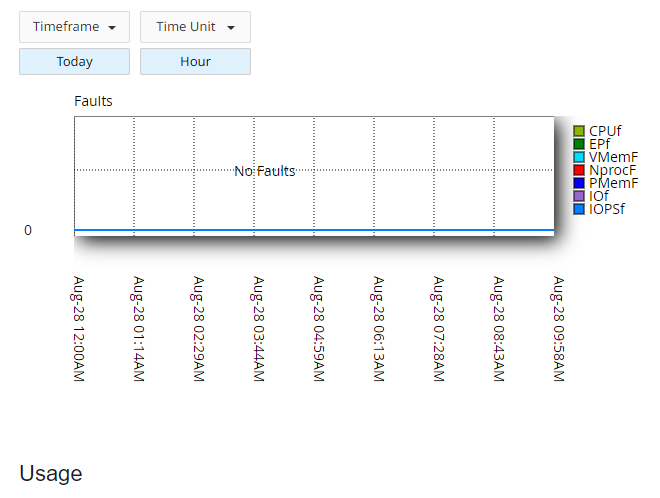
- Review the graphs and data for CPU, memory, and I/O usage to identify any spikes or consistent overuse.
- Monitor Processes and Usage:
- Navigate to Advanced and select Process Manager.
- Examine the list of running processes and their resource consumption. High usage by specific processes may indicate overuse.
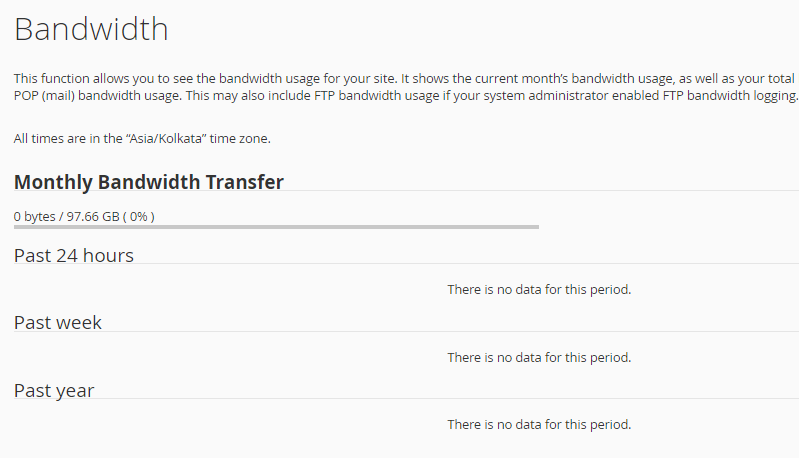
- Review Bandwidth and Disk Usage:
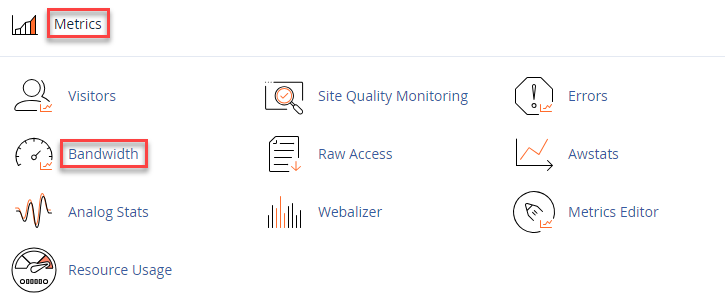
- Go to Metrics and select Bandwidth to view usage trends.
- Check Disk usage to see if any accounts or directories are consuming excessive space.
- Go to Metrics and select Bandwidth to view usage trends.
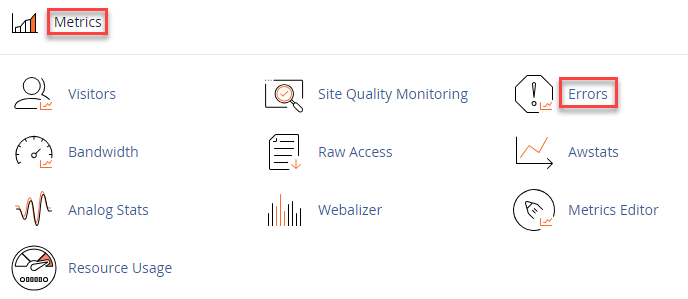
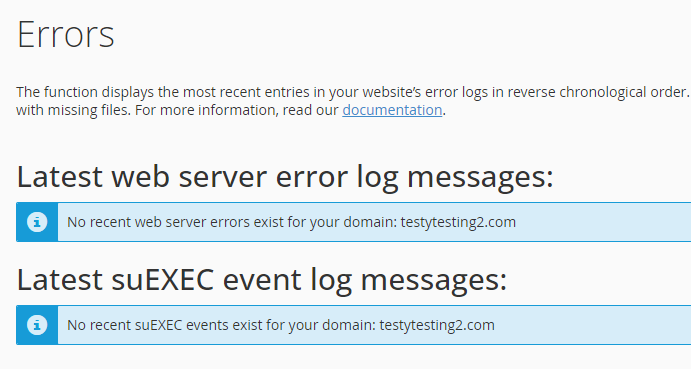
- Analyse Error Logs:
- Access Metrics and choose Errors.
- Review the error logs for recurring issues that might be causing high resource usage.
- Access Metrics and choose Errors.
Mitigating Resource Overuse
- Optimise Scripts and Applications:
- Review and optimise any scripts or applications that are consuming excessive resources. This may involve code improvements or updating software.
- Limit Resource Usage:
- Use Resource Limits under Software to limit CPU and memory usage for specific accounts or applications.
- Use Caching:
- To reduce server load, implement caching solutions such as LiteSpeed Cache or WP Super Cache.
- Upgrade Hosting Plan:
- If resource overuse persists, consider upgrading to a higher hosting plan with more resources.
- Contact Support:
- If you are unable to resolve resource overuse issues, contact your hosting provider’s support team for assistance.
Regularly monitoring and managing resource usage in cPanel helps guarantee stable and efficient performance for your website. By identifying and addressing overuse issues promptly, you can maintain a smooth and responsive hosting environment. For assistance, please get in touch with our support team.